
Simple Mini Peach Galette
The star of the galette is always the pastry and damn this pastry is AMAZING! The flavour of the peach really shines through with such simple ingredients. Your filling is always interchangeable but with some tips and tricks you can make whatever galette you want!
Adapted from Dini (who grew up in NZ!) The Flavor Bender’s Recipe you are going to want to make this straight away! The possibilities for what you can fill it with next are endless! ☺
I made this particular one on Monday 5th November 2018
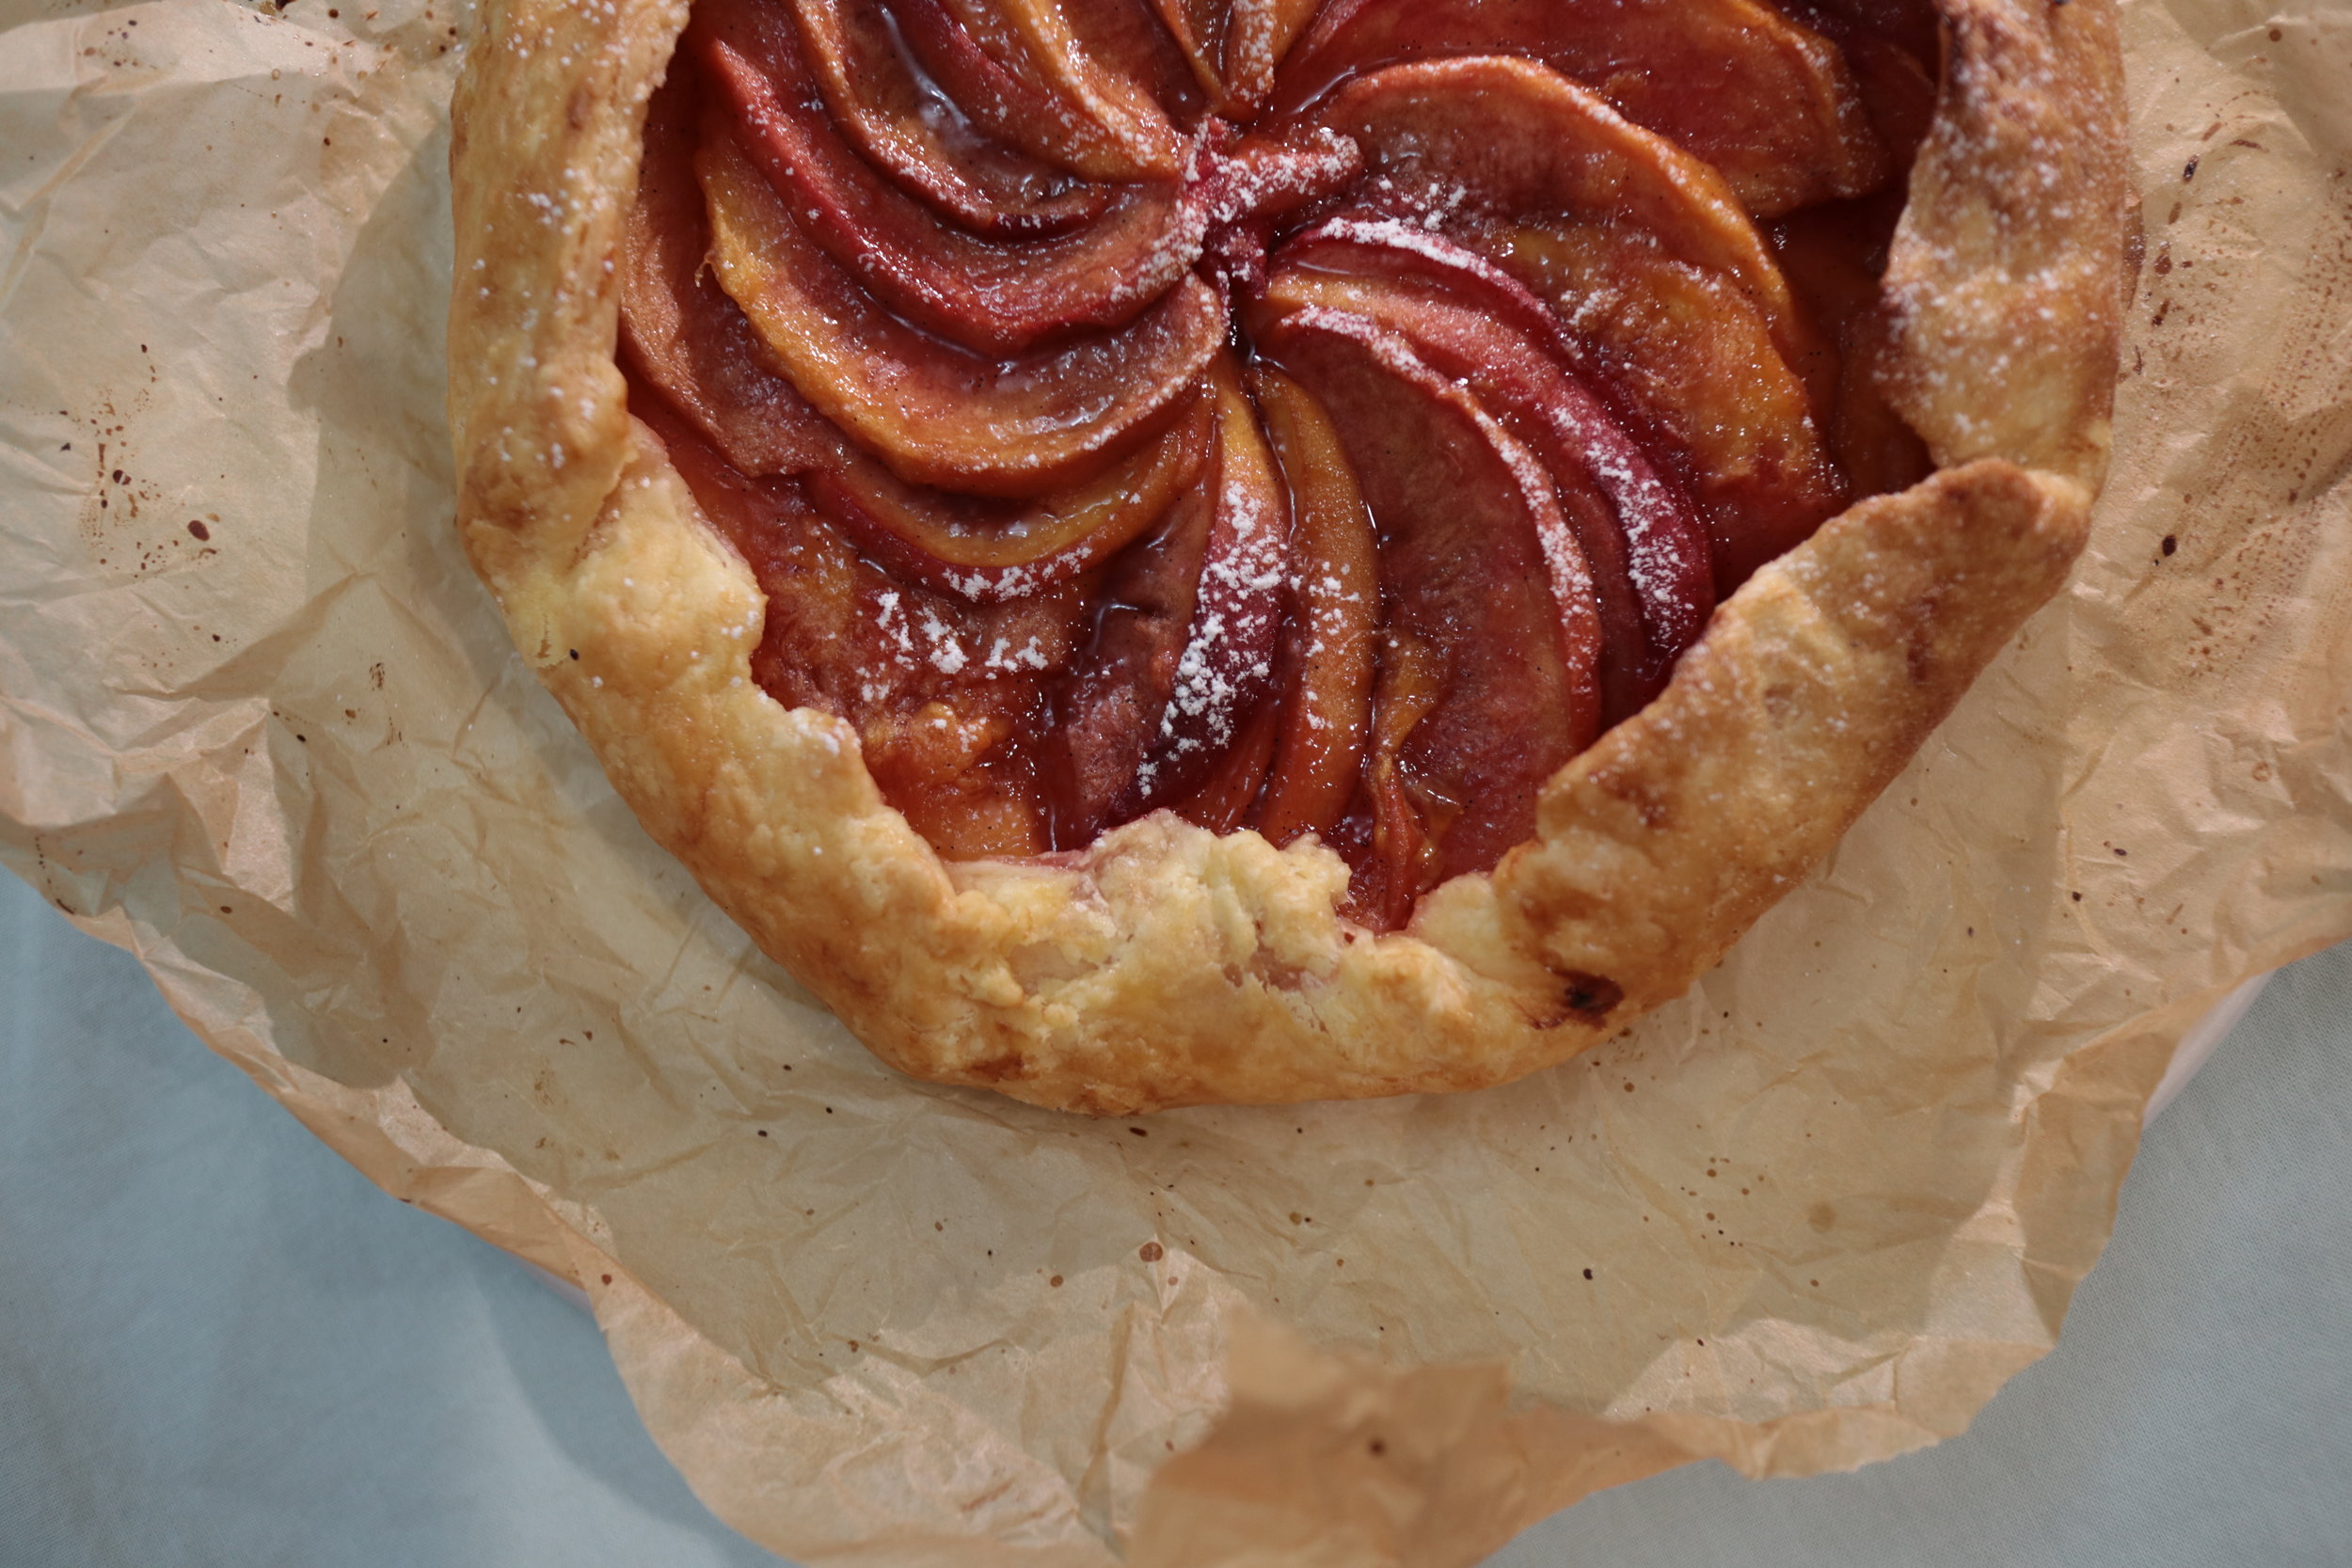

Choose your garnish! Add icing sugar for more sweetness or some caramel, dried fruit or keep it as is. Experiment, it’s fun!

Great to serve as a light dessert with vanilla ice cream or yoghurt
PREP TIME 45 MINS
REST TIME 1-2 HOURS
BAKE TIME 30 MINS
CHILL TIME OVERNIGHT (best results)
Recipe
Ingredients
Pastry Dough (makes 4 mini galette pastries)
225G UNSALTED BUTTER ( CUT INTO THINK SLICES AND BREAK A PART)
340G FLOUR PLAIN/LOW PROTEIN
1 TSP SUGAR RAW CASTER
2 TSP SALT
90 ML ICE COLD WATER
30 ML CHILLED APPLE CIDER VINEGAR
Filling ( makes 1 mini galette filling - x4 to complement pastry dough)
1 peach sliced
5ml / t tsp Lime juice
15g / 1 Tbsp Potato starch
35g / 2 heaped Tbsp caster sugar
1/2tsp vanilla paste (ab 2g)
Pinch of Himalayan salt
Egg wash - just a beaten egg with some water or milk if you like (optional)
Glaze
1 Tbsp brown sugar to sprinkle over the galette right before baking
Icing sugar to serve
Gadgets
Measuring Utensils
Scale
Mixing Bowls
Silicone Mat
Rolling Pin
Working surface
Baking tray
Some Pastry Notes Before We Start
Please note you are making dough for four minis, or two large galettes.
I made this galette and another savoury one and left the other half in the freezer for a purple kumara/ube tart I plan to make this weekend!
So don’t feel like you need to use this dough to make a galette, bring out your tart/flan pan or whatever and just use it for what you want!
My finished pastry dough was 710g, split into four 1in / 2cm width discs I made mine around 5-6 inches
355g (then halved to make mini galettes) rolled out to 9 in to make ab 7 in mini galette
I didn’t use vodka just used water instead of it. Portions were pretty damn perfect - pastry was beaut
I also used this pastry for my Purple Kumara tarts - you can really see the layers there
Method
Pastry
Measure out your wet ingredients. Mix together the flour and butter in a large bowl and start rubbing in your butter.
Add in your wet ingredients once the butter is nicely coated in flour. Leave back some water in case or add cold water by the tsp if it’s too dry. Your pastry should just come together and have nice large chunks of flat butter pieces.
Shape into discs of desired shapes. i.e. 4 mini discs if you want 4 mini galettes. Cover with cling film and place in the fridge to chill overnight for best results or at least an hour in the fridge or freezer for 30 then thawed in the fridge for 30 mins
Filling
A quick filling that is tasty and simple. Mix together all the ingredients and you’re ready.
Construction
Take the pastry out of the fridge 5-10 minutes before you are ready to use it so it becomes easy to roll out and shape, you don’t want to break it! Once it’s a still firm but pliable texture, roll it out to about 9 inches, creating thinner edges. The galette will be around 7 inches in diameter. It should be quite thin but with no tears. It’ll puff up don’t worry.
Roll the pastry onto your rolling pin and put onto your lined baking tray. Start to place your filling in the middle, create shapes - spirals always look impressive and are easy. Leave about 2-3cm without filling and fold over these sides to create the galette look.
Freeze the galette in the pan for at least 20-30 minutes
Turn your oven onto Bake 200-205 C
Once your oven is ready, get your galette out of the freezer, give it a quick egg wash, sprinkle brown sugar over it and place straight into the oven, bake for around 25-28 minutes but once it becomes a beautiful golden brown it’s probably ready to eat!
Sift some icing sugar

My mini galette pastry discs


It looks rather thin but it’s an amazing crispy, puffy layered pastry.


Thin, buttery crisp goodness that is this pastry compliments a juicy sweet filling
May be of interest to you
Rolls the outsides thinner like a dumpling wrapper lol quite like the idea of that tbh and makes for cuter / unique flicks for ur galette
A light sprinkle of brown sugar on top for coating and caramelisation - I actually didn’t realise the white sugar was meant to be on top but I quite liked it in the filling since the peaches were quite tart anyways.
Keep in the middle of the oven, flip it around if browning isn’t even
Check at 20mins at 200c
The pan you bake in also goes into the freezer then straight to a hot oven for a better pastry, this means the butter melts slower to create better lamination!
Only use your fingertips - if you choose to use your hands. I prefer my hands.. nothing wrong with a food processor ( I also don’t have a very big one as well lol)
If you think you’re over working it you probably are. You can pat it all together or mush it with some baking paper/cling film and put it in the fridge to avoid over working the gluten and melting the butter - also handy if you’re having a hot finger day (aye lmao)
Be creative with your next galette! I did a savoury peach curry leaf and feta one. I want to try a prawn and curry leaf galette next.. how good does that sound?!
